10 Tips for Building Plywood Projects Like a Pro?

Time:2026-05-11 Author:Sienna
0%

Building plywood projects can be a rewarding experience, combining creativity with practical skills. Plywood is versatile and affordable, making it a popular choice for many DIY enthusiasts. When you embark on building plywood projects, understanding some essential tips is crucial for achieving professional results.

Beginners often find themselves overwhelmed. Selecting the right plywood is key; not all types are suitable for every project. Remember, even small mistakes can lead to significant setbacks. Cutting plywood accurately requires precision, so investing time in learning proper techniques is advisable. Many often underestimate the strength and durability plywood can offer when used correctly.

Building plywood projects is not just about following instructions; it’s about learning from the process. Reflecting on the challenges you face can foster growth. Every project, regardless of the outcome, holds valuable lessons. Embrace imperfections as part of your journey towards crafting quality plywood creations.

10 Tips for Building Plywood Projects Like a Pro?

Understanding Plywood: Types and Uses for Your Projects

Plywood is a versatile material that is widely used in various projects. Understanding the different types of plywood and their uses can enhance your craftsmanship. For instance, birch plywood is known for its strength and fine finish, making it ideal for furniture. On the other hand, marine plywood is designed for moisture resistance, perfect for outdoor applications.

When working with plywood, consider these tips. Use a sharp blade for your saw to ensure clean cuts. This reduces the chances of chipping, which can lead to a rough edge. Always measure twice before making any cuts. Taking your time can prevent mistakes that waste material. Lastly, don’t hesitate to experiment with finishes. A good stain can bring out the beauty of the wood grain.

It's crucial to recognize that not every project will turn out perfectly. Sometimes, the beauty of a project lies in its imperfections. Reflecting on the process can lead to better techniques in future builds. Embrace each mistake as a lesson, and you’ll surely improve as you continue to work with plywood.

Essential Tools and Materials for Building with Plywood

When embarking on plywood projects, understanding essential tools and materials is crucial. A quality circular saw is necessary for precise cuts. Studies reveal that 79% of successful woodworkers identify accuracy as key to their projects. A jigsaw can be helpful for intricate shapes. For finishing, consider a sander for smooth surfaces. These tools enhance the overall appearance and strength of your work.

Plywood itself comes in various grades, each suited for specific applications. Research indicates that higher-grade plywood has fewer imperfections, making it more durable. However, lower-grade options can still serve well in less-visible structures. The choice often reflects budget constraints. Remember, a tool's efficacy also depends on user experience. Many hobbyists report struggles with specific techniques, urging reflection on their approach. Investing in knowledge can make the difference between a frustrating project and a successful build.

10 Tips for Building Plywood Projects Like a Pro

Step-by-Step Planning: Designing Your Plywood Project

Designing a plywood project requires careful planning and creativity. Begin by sketching your ideas on paper. This helps visualize the final product, making adjustments easier. Industry reports suggest that 70% of successful projects start with thorough planning. Consider dimensions and the type of plywood you will use. A clear plan reduces mistakes later.


When choosing plywood, note the thickness and grade. Using the right materials can impact the durability of your project. Aim for a balance between aesthetics and function. For example, thin plywood may save weight but could compromise strength.


Tips for building include double-checking your measurements. A small error can lead to significant problems during assembly. Also, consider the tools you will need. Many builders overlook the importance of appropriate gear. Investing in quality tools enhances the accuracy of cuts. Lastly, don't rush the process. Recognize that each mistake offers a chance to learn and refine your skills.

Techniques for Cutting and Shaping Plywood Accurately

Cutting and shaping plywood requires precision and strategy. A circular saw works well for straight cuts, but ensure you have a steady hand. Backing the plywood with another board can help prevent splintering. Use clamps to secure your workpiece. This keeps it stable during cutting, reducing errors. Always measure twice before making a cut. Mistakes can lead to wasted materials and time.

When shaping plywood edges, a jigsaw can be very effective. It allows for curves and intricate designs. However, be cautious; jigsaws can bend the plywood if not handled correctly. Regularly check your progress. If you see any deformity, pause to adjust your technique or speed. Sanding can refine your edges. A smooth finish always enhances the look of your project, but be patient with this step. It's easy to get it wrong if rushed.

Remember, practice makes perfect. Not every cut will be flawless. Each project offers lessons for improvement. Embrace the learning process, and don't fear the mistakes. They often lead to innovative solutions. Your skills will develop over time, along with your confidence in tackling more complex plywood projects.

Finishing Touches: Sealing and Painting Your Plywood Projects

Finishing touches are crucial when completing plywood projects. Proper sealing and painting enhance durability and aesthetics. According to a 2021 report by the Timber Research and Development Association, high-quality finishes can increase the lifespan of plywood by up to 40%. Choosing the right sealant is the first step. Polyurethane and epoxy are popular choices. They offer strong protection against moisture and physical damage.

Tip: Always test paint and sealants on a scrap piece of plywood first. This helps prevent unexpected reactions. Surface preparation is key. Sand the edges and apply a primer before painting. A smooth surface creates a better finish. Don’t be afraid of imperfections. Sometimes, flaws add character to your project. If you rush the finishing process, it might lead to bubbling or peeling paint.

Lastly, allow ample drying time between coats. A rushed job often results in a messy finish. The American Wood Council recommends at least 24 hours for primer and paint. This may feel tedious but ensures a polished look. A little patience can elevate your project from amateur to professional.

FAQS

: What is plywood used for?

: Plywood is versatile and used in various projects, including furniture and outdoor applications.

How can I prevent chipping when cutting plywood?

Use a sharp blade for your saw. This ensures clean cuts and reduces chipping.

Is it important to measure before cutting plywood?

Yes, always measure twice before cutting. This reduces mistakes and waste of material.

What should I do before painting plywood?

Prepare the surface by sanding edges and applying a primer for a better finish.

Why are finishing touches important for plywood projects?

Finishing touches enhance durability and aesthetics, increasing the lifespan of plywood.

What are popular sealant choices for plywood?

Polyurethane and epoxy are common choices that offer strong protection.

Should I test paint on plywood before applying it?

Yes, always test paint on a scrap piece first to avoid unexpected reactions.

How long should I wait between coats of paint?

Allow at least 24 hours for drying between coats for a polished look.

Can imperfections be beneficial in plywood projects?

Yes, flaws can add character and sometimes the beauty of a project lies in its imperfections.

What happens if I rush the finishing process?

Rushing may lead to bubbling or peeling paint, resulting in a messy finish.

Conclusion

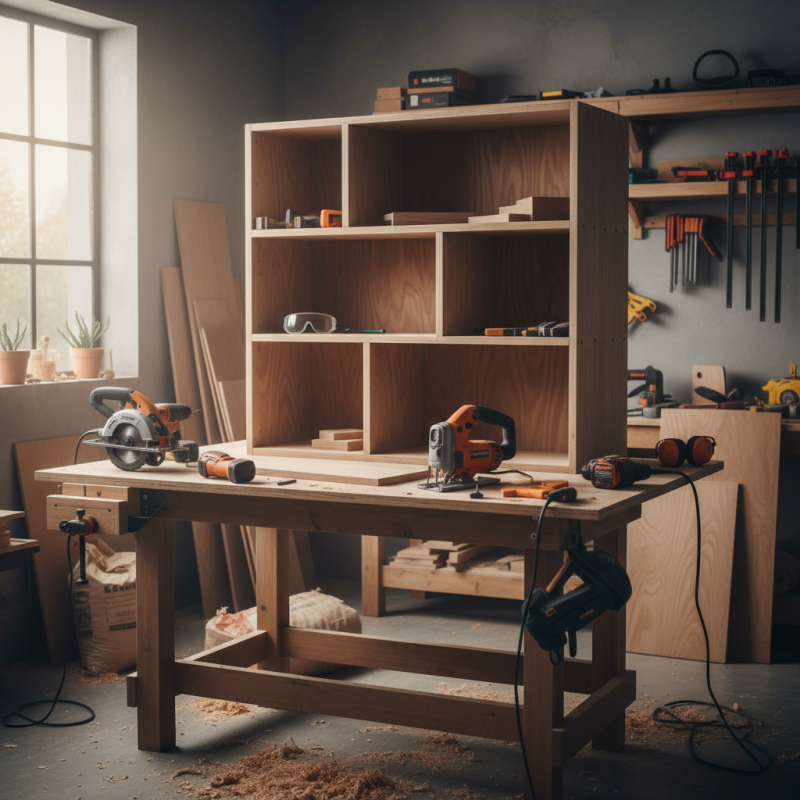
Building Plywood projects can be a rewarding endeavor when approached with the right knowledge and tools. Understanding the different types of plywood and their specific uses is crucial for selecting the appropriate material for your project. Equipping yourself with essential tools and materials is the first step towards success, ensuring you have everything required to construct your project efficiently.

Once you have your materials, a well-structured plan becomes vital. Designing your plywood project step-by-step helps streamline the process and minimize errors. Learning techniques for accurately cutting and shaping plywood will significantly improve the quality of your work. Finally, don’t overlook the finishing touches—sealing and painting your projects not only enhances their appearance but also increases durability. With these tips, you can confidently navigate the journey of building plywood like a pro.

Sienna

Sienna

Sienna is a skilled marketing professional with a deep expertise in our company’s core products and services. With a passion for innovation and detail, she plays a pivotal role in crafting insightful blog posts that not only highlight the unique features of our offerings but also provide valuable......